
In this masterclass, you will gain a thorough understanding of how to optimize and streamline your texturing workflow, specifically tailored for the requirements of AAA game asset creation. Get hands-on experience with industry-standard tools like Substance Painter, Substance Designer, and Marmoset Toolbag, and explore advanced techniques such as UV unwrapping, creating custom filters, layering effects, and more.
You’ll finish this course with the skills and workflow mastery that can advance your career in the game industry.
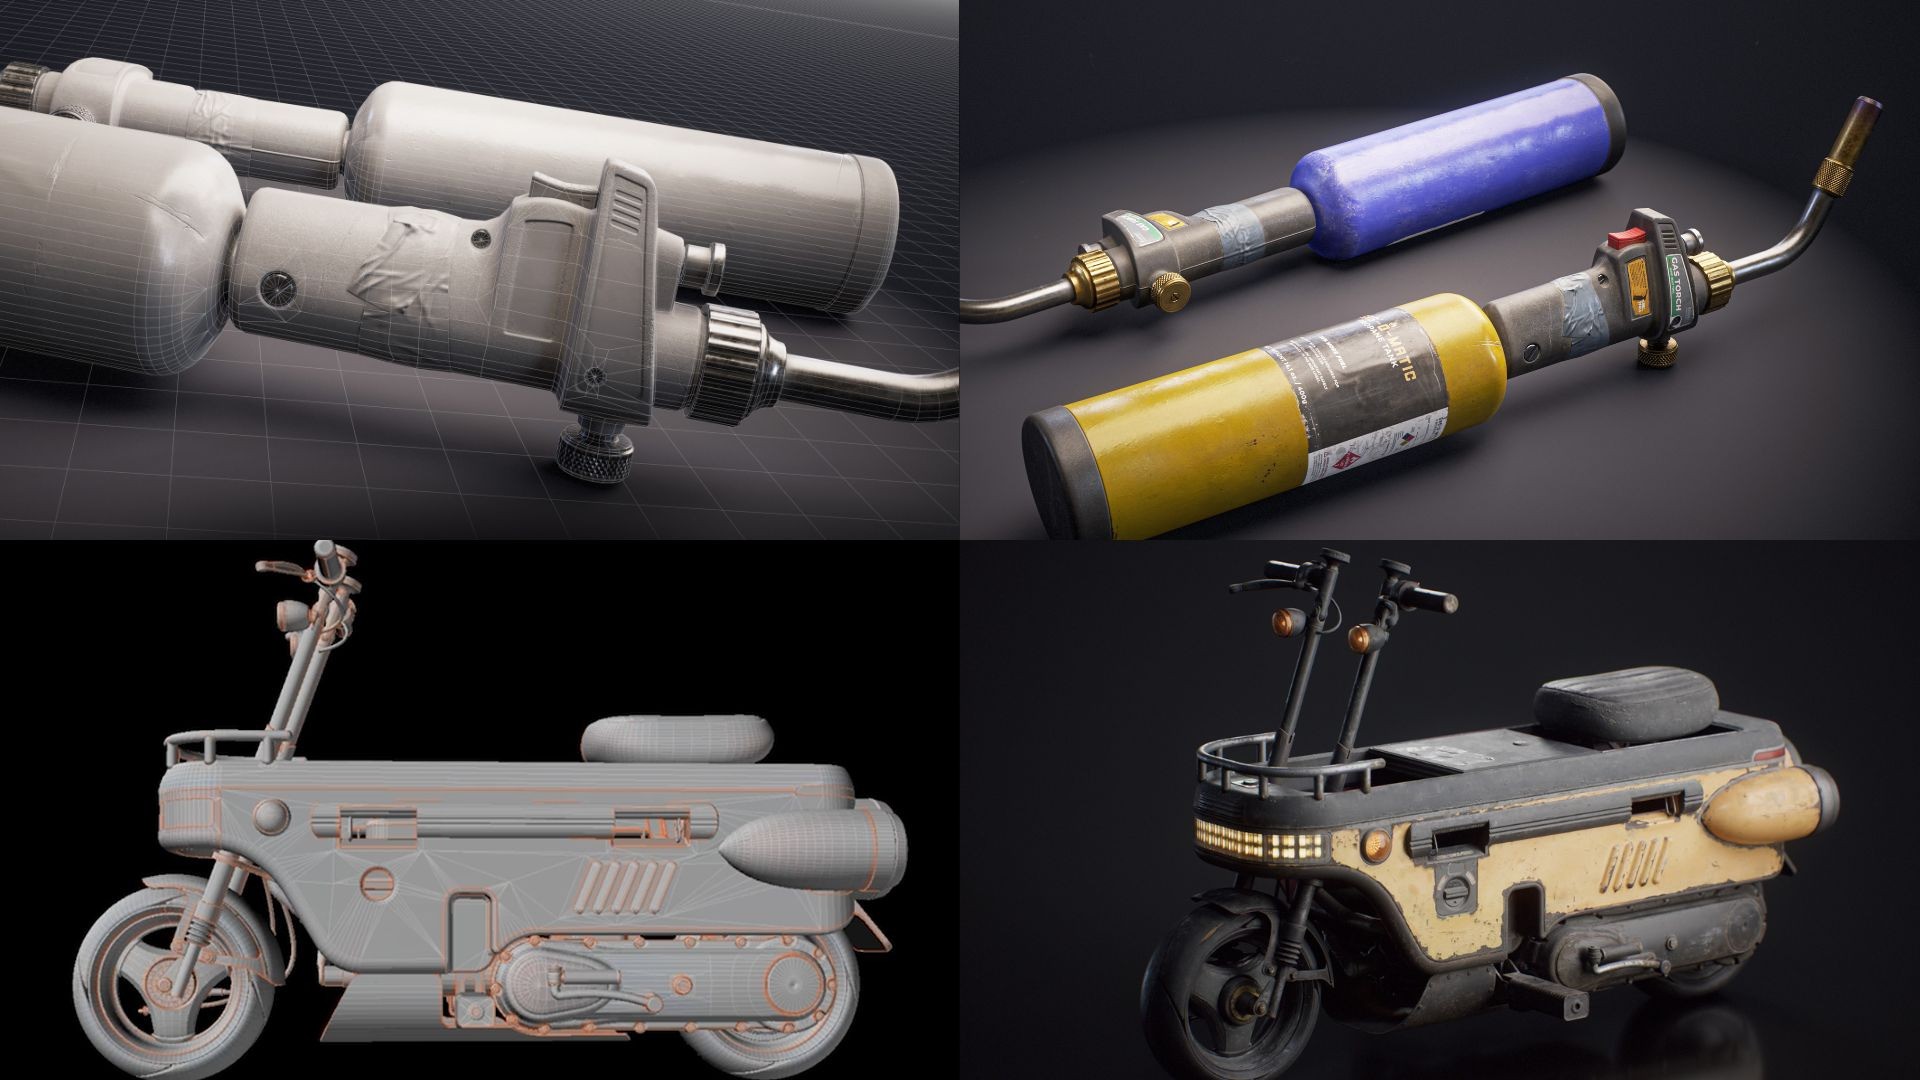
See more images on Robin's ArtStation HERE!
BENEFITS
-
Master the procedural texturing pipeline
-
Gain a thorough understanding of how to optimize and streamline a texturing workflow
-
Have a portfolio showcasing 5-10 high-quality texture images
-
Learn from a top artist at Sierra Division
-
Course content and Miro board access for 1-year
- Learn alongside your peers on a shared Miro board - see the feedback they receive to gain insights, spark new ideas, and refine your own creations
- 1-year FREE license for RizomUV software*
COURSE FORMAT
-
Pre-recorded lessons
-
Live Q&A sessions with instructor
-
Personalized feedback on assignments
-
Certificate of Completion delivered by Sierra Division
SOFTWARE REQUIREMENTS
-
Substance Painter
- Substance Designer
- Marmoset Toolbag (for baking)
- RizomUV (1-year license provided)*
Week 1 - UVs and Baking
In week one, students will be provided with a pre-cut Model. On this Model, they will be packing the UVs with the goal of hitting the minimum target texel density by using techniques like mirroring, downscaling certain islands and upscaling others to capture high-density detail areas better. Both Models — high poly and low poly — will be unorganized. Students will be required to prepare them for Baking and import them in Marmoset Toolbag. After this, they will be creating Bakes there. The final Bakes must have no Baking errors and no skewed details caused from projecting it to a flat surface. The final part of this week will be the preparation of the Substance Painter scene for Texturing.
Lessons
-
Preparing UV islands
-
Common issues
-
Mirroring UV islands
-
Scaling UV islands
-
Overlaying UV islands
-
Low poly shading
-
Bake start and scaling
-
AO Baking
-
Skew painting
Week 2 - Texturing Preparations
In week two, students will be tasked with collecting references related to the provided Models and their materials. They will create an organized collection of them in PureRef. Secondly, one of their goals will be to create their own stencils for Texturing. They will also be encouraged, but not required, to go outside and take their own pictures and use them for creating stencils. Lastly, based on the collected references and their imagination, they will be making their own 2D graphic labels which will later be used in Substance Painter.
Lessons
-
Collecting references
-
Reference gathering
-
Making stencils
-
Creating graphics PT1
-
Creating graphics PT2
Week 3 - Painter tools
In the third week, we will take an in-depth look at the various tools used for Texturing, including generators, filters, anchors, and other effects. Additionally, students will learn how to create simple custom filters in Substance Designer, which will be utilized later in Substance Painter.
Lessons
-
Creating custom filters
-
Overview of generators
-
Overview of filters
-
Overview of other effects
-
Working with anchors
-
Layering filters
Week 4 - Base materials
In week four, students will learn how to organize their layers and folders in Substance Painter. This will help them orient themselves in complex files, with a substantial amount of material. They will also learn how to set up base materials as a solid foundation for further Texturing. They will learn about variation which is necessary for creating interesting Textures.
Lessons
-
Layer organization
-
Mask types
-
Base material setup
-
Checking with Marmoset
-
Creating variation
-
External resources
Week 5 - Texturing approach
In week five, students will learn the importance of variation in their Textures and how to look for it in references. They will also build upon their base materials and learn how to start creating unique elements, through the combination of anchors and different effects.
Lessons
-
Texture Variation
-
Analyzing references
-
Using references
-
Working with stencils
-
Working with height channel
Week 6 - Creating uniqueness
In week six, students will start building more complex unique effects with the help of various grunges, stencils, filters, generators, anchors, and custom painting. They will be adding unique details, like peeling paint, leaky rust, height variation, unique scratches, and marks. Layering different effects and experimentation will be important during this course.
Lessons
-
Building with anchors
-
Enhancing our labels
-
Experimenting with effects
-
Adding complexity
-
Layering effects
-
Finishing up
Week 7 - Unifying Textures
In week seven, students will finish up their Textures by adding overall dirt and grunge that will help unify the entire look of the asset. They will learn how to layer different types of dirt and how important it is to add some unique touches to break the uniformity of the asset. They will also be doing final adjustments before the final Renders.
Lessons
-
Overall dirt
-
Layering dirt
-
Unique touches
-
Final changes
-
Overall adjustments
Week 8 - Making Renders
The last week of the course will be dedicated to importing the Model and Textures into Marmoset Toolbag and setting up a scene for final Renders. Students will gain hands-on experience in setting up lights, cameras, and post-processing effects. They will also learn how to create a simple environment and experiment with various lighting scenarios within the same file to discover the most captivating results.
Lessons
-
Model preparations
-
Scene setup
-
Lighting scenarios
-
Camera effects
-
Render settings
CLASS GOALS
-
Students will have between 5-10 final images of their Textures they have created at this point.
-
They will have added to their library of stencils and smart materials.
-
Students will have learned how to approach Texturing various different materials and how to work with different Substance Painter components to create appealing effects.
WATCH ROBIN'S PORTFOLIO FEEDBACK SESSION
*Subject to RizomUV's approval, terms, and eligibility.
- Teacher: Robin Mariancik